Convocation day is one of those rare moments that brings the whole family together. Parents, grandparents, siblings, cousins, and close friends all show up to watch someone walk across the stage and hold up a scroll they worked years for. Yet by the time everyone gets home, the photos are scattered across a dozen phones. Mum has some, Dad has others, a cousin has a blurry one taken from the back of the hall. Graduation photo sharing is exactly the problem this guide solves.
The good news is that you do not need to be a tech expert to keep everything organised. With a shared gallery and a QR code, every guest can upload their photos in seconds, without downloading an app or creating an account. This article walks you through preparation, the day itself, and what to do afterwards, with practical tips that work for convocations at local universities, colleges, and private institutions across Malaysia.
Why Graduation Photo Sharing Usually Turns Into a Mess
Picture the usual scenario. After the ceremony, you ask everyone to send their photos in the family WhatsApp group. Within hours, the group is flooded with hundreds of images. Some are duplicates, some are low quality, and some are sideways. When you try to save them, your phone storage fills up. Eventually, the best photos get buried under weeks of chat messages and nobody looks at them again.
There is also the problem of ownership. Your mum shot from the left, your dad from the centre, your cousin from the back row. Everyone captured a different angle of the same proud moment, but nobody is collecting them into one place. A single shared gallery fixes this. Everyone uploads to the same location, and the host ends up with a complete set instead of a partial one.
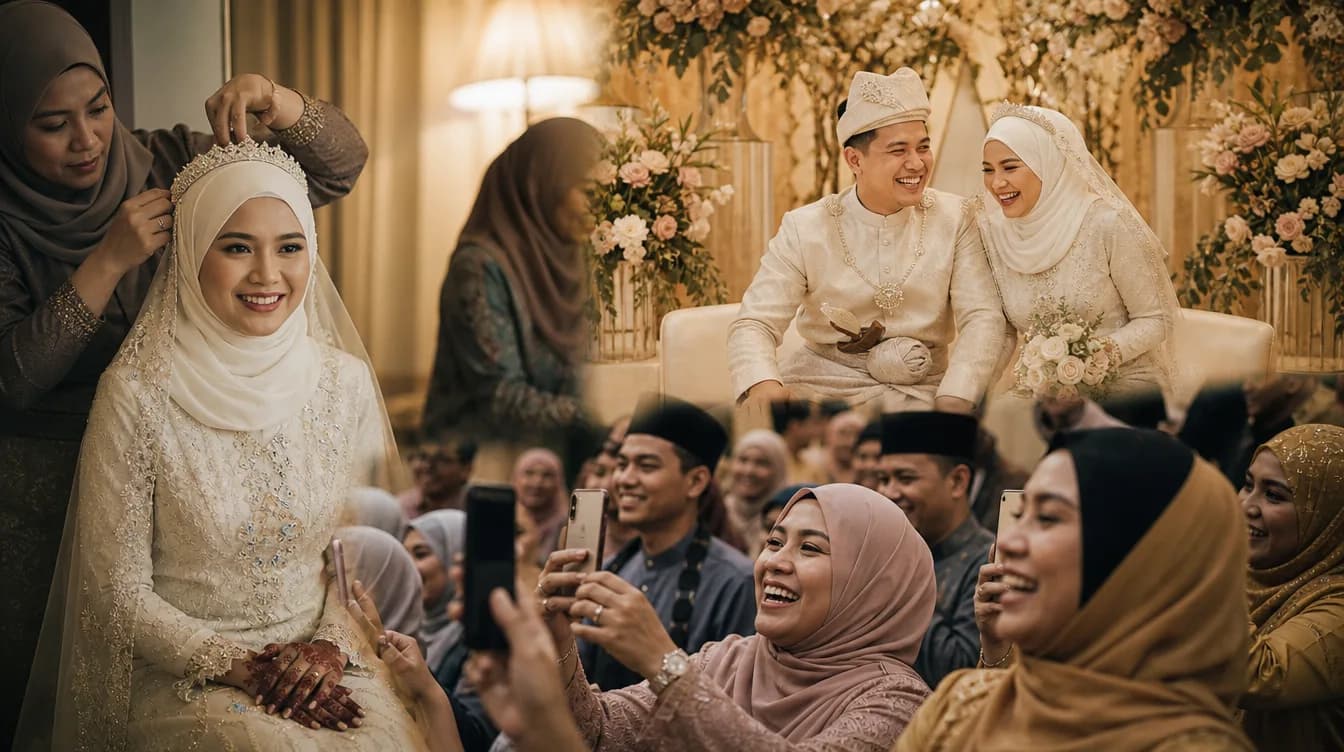
If you have organised photos for a wedding or kenduri before, you already know how much smoother things go with a proper system. The principle is the same for convocation, just on a smaller but more scattered scale. You can read a broader overview of how QR code photo sharing for events works before your big day.
Before Convocation Day: Small Preparations That Save Hours
Setting up early makes the actual day far less stressful. Start by creating one official gallery for the event. Tell your family in advance that all photos will go there, not into a WhatsApp group. This one decision prevents most of the confusion later.
- Create the shared gallery a day or two before the ceremony so the QR code is ready to share.
- Print the QR code on the programme booklet, a small card, or a table sticker.
- Ask one family member, usually a younger sibling or cousin, to be the gallery champion who reminds guests to upload.
- Test it yourself by uploading one photo from your own phone before the event.
- Save the QR code as an image on your phone so you can show it to anyone who asks.
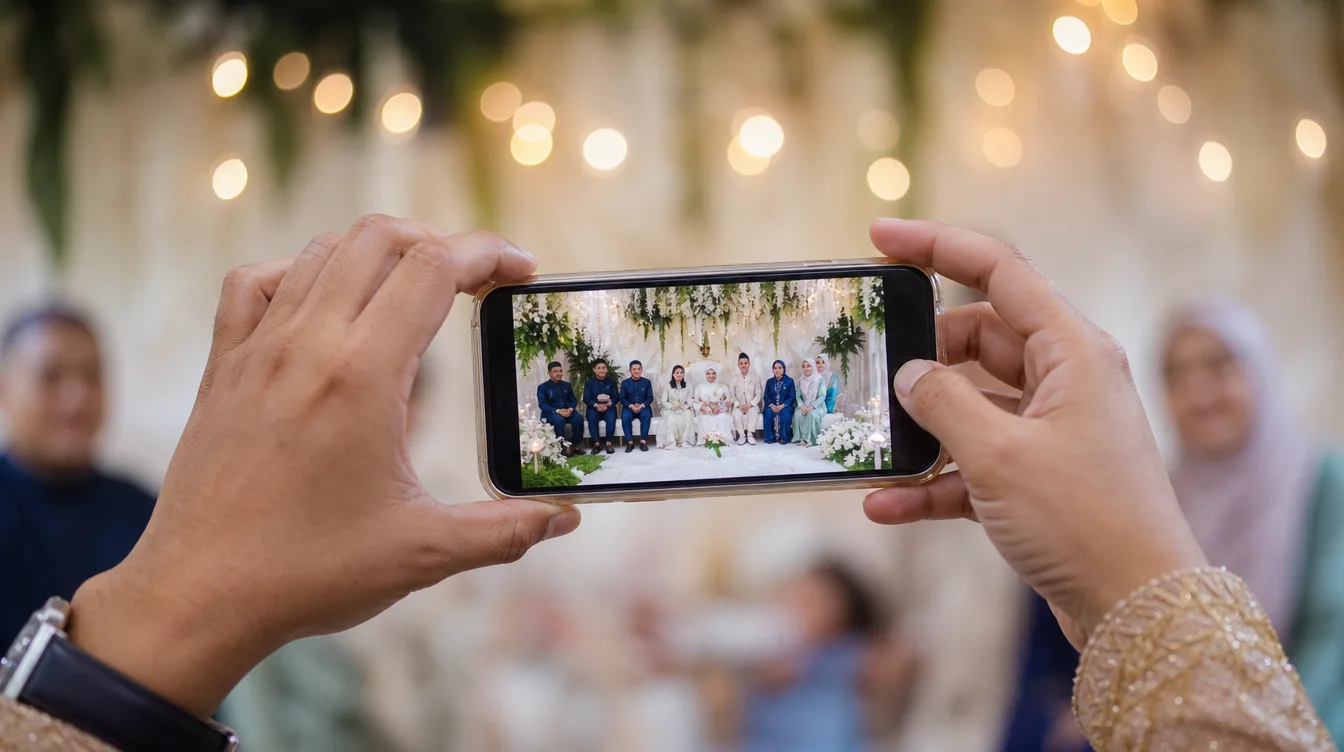
Make it clear that guests do not need to install anything or sign up. This matters most for older relatives who may not be comfortable with new apps. Scanning a QR code with the phone camera and uploading a photo takes less than a minute, and that simplicity is what gets people to actually do it.
Print the QR code large enough to scan easily. Place copies at the entrance, on the main dining tables, and near the photo spot. A tiny QR code on a corner of a programme will be missed.
During the Ceremony: Getting Guests to Actually Upload
Convocation schedules are tight. There is the march in, the speeches, the walk across the stage, the photo sessions, and the meal. In the middle of all that, guests forget about the gallery. Gentle, repeated reminders work far better than a single announcement.
Ask the emcee or a family representative to mention the gallery at the start and again after the main photo session. Keep it short: mention that all photos can be uploaded through the QR code on the tables. Then let the QR codes do the work. People scan while they wait for food or while the next session begins.
For relatives who seem unsure, walk them through it once. Show them how to scan and upload. Most people get it after one try. If you have ever struggled to get guests to participate, there are proven ways to get guests to actually share their photos that you can borrow for your event.
- Place QR codes on every table, not only at the entrance.
- Have one family member remind guests right after the main photo session.
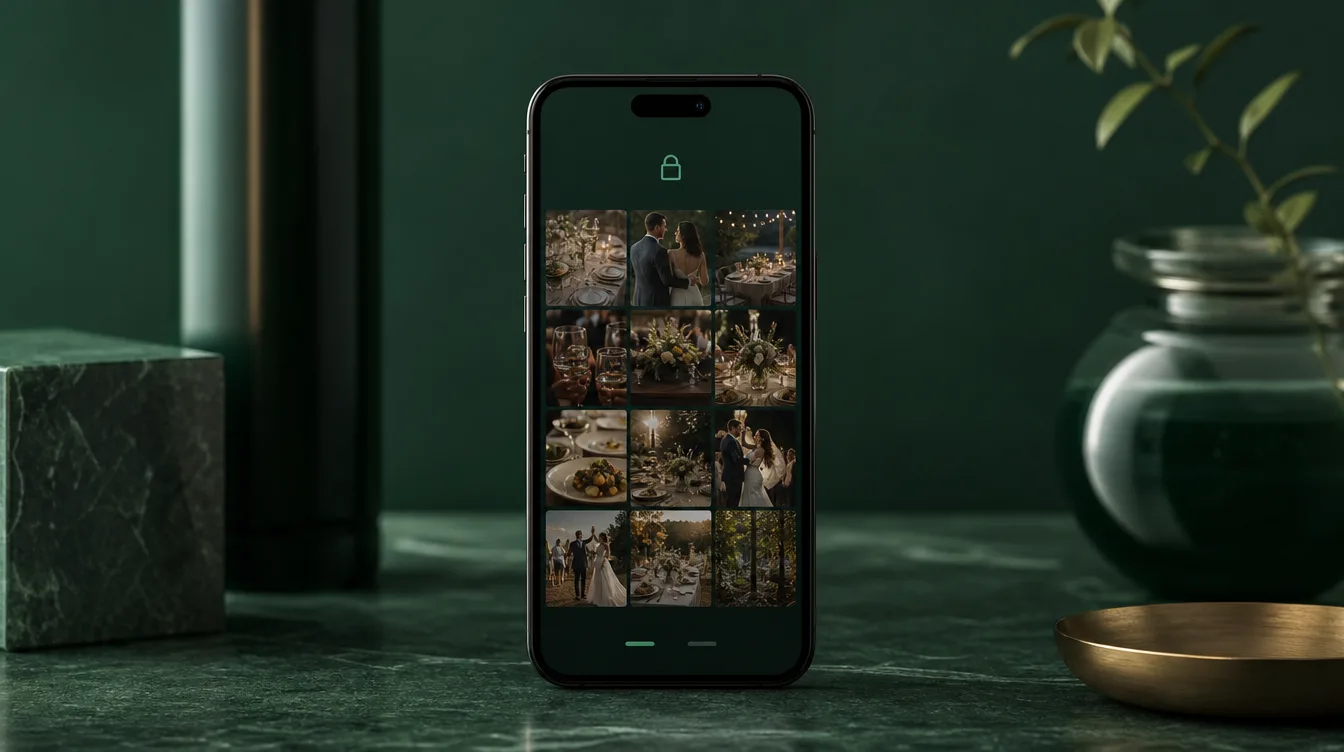
- Show a sample of uploaded photos so guests can see the result.
- Give people a relaxed window after the ceremony to scan and upload while eating.
- Avoid pressure. A friendly nudge works better than a demand.
What to Photograph at a Convocation
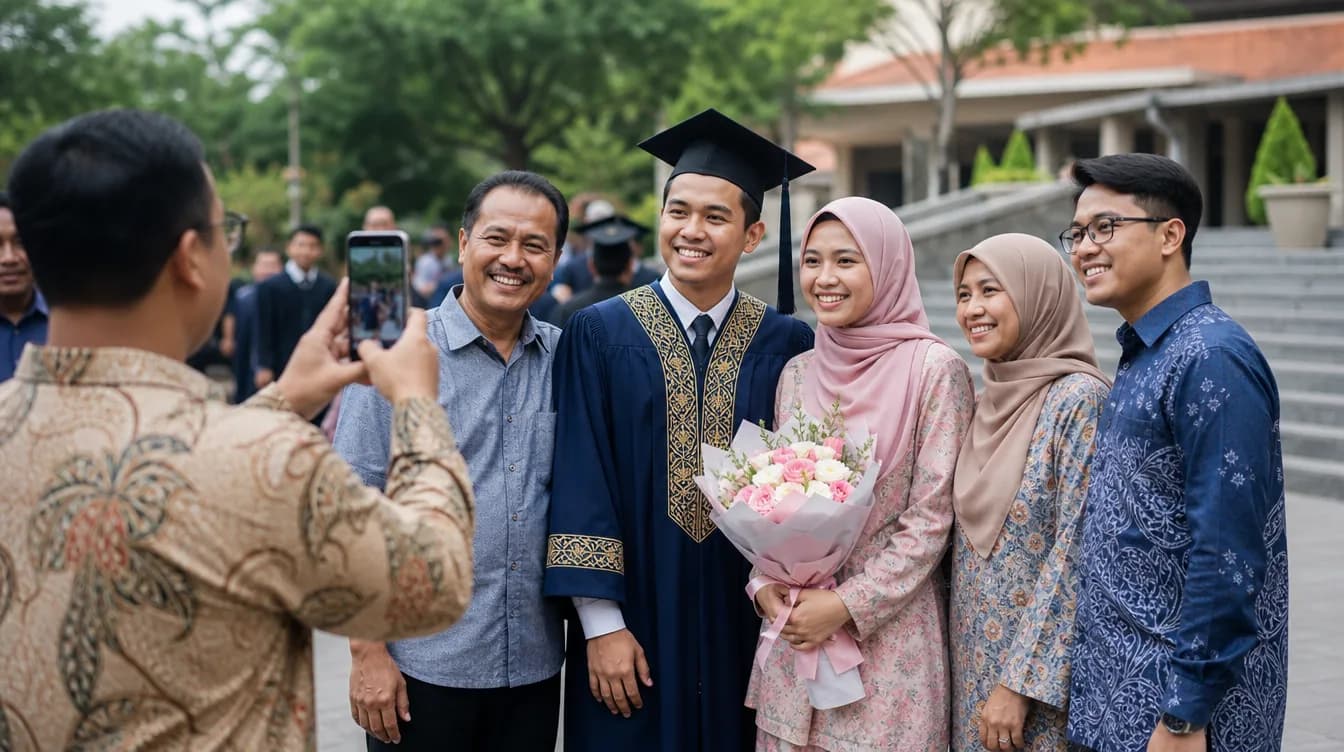
Most people focus only on the moment the graduate receives the scroll. But the moments around it are just as valuable. A parent wiping away tears, a grandparent beaming with pride, younger siblings in their best clothes, friends crowding together outside the hall. Together, these form the full story of the day.
Encourage guests to shoot from different angles. Formal shots for the album, candid shots for the memories, and atmosphere shots that bring the day back. If you want better results, share some tips for beautiful phone photos at events with your guests beforehand. A few simple pointers go a long way.
- Before entering the hall: getting ready, outfits, excited faces.
- During the ceremony: from the guest seating, not just the stage.
- After the ceremony: informal group photos outside the hall or in the gardens.
- The meal: tables, food, and family laughter.
- Group shots by family or friend circle.
- Small details: the scroll, flowers, robes, and congratulation cards.
After the Event: Collecting, Storing, and Sharing
Once the ceremony ends and everyone heads home, the real work begins. You want to make sure every uploaded photo is safely stored. A shared gallery usually lets the host download everything in one go, so you are not tapping save on hundreds of individual images.
After downloading, keep two copies in separate places. For example, one on a laptop and one on an external drive or cloud storage. This protects those memories if a phone breaks or goes missing. If you want a step-by-step walkthrough, this guide on downloading all your event photos as a ZIP covers the process clearly.
Finally, share the gallery link back with everyone who attended. That way, cousins who could not make it can still see the day, and friends can download the photos they appear in. Convocation stops being a single afternoon and becomes something the whole family can revisit whenever they want.
Make a short highlights album after the event, maybe 30 to 50 of the best shots, and share it with the extended family. A curated set gets viewed far more often than a folder of hundreds.
Make the Day Memorable and Organised
A convocation happens once for each degree. You do not want those photos lost on someone else's phone or buried in a chat group nobody opens anymore. With one shared gallery and a QR code, every photo ends up in one place, neatly collected and easy to download.
If you are hosting a convocation or graduation celebration soon, set up the gallery early, share the QR code clearly, and remind guests in a friendly way. These small steps produce a far richer and more meaningful collection for your family.
To host your own event, get the Gathrly iOS app and set up a gallery in minutes. Your guests just scan the QR code in any browser, no account needed, and every photo lands in one gallery you can download and keep forever.